 Subscribe
 Follow Us
Simple Accordion CSS3 and jQuery
 13 years ago
 29063
29063 7964
7964
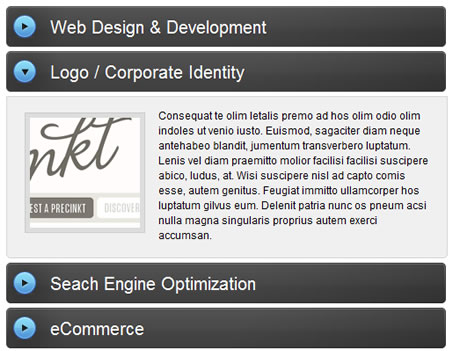
Foundation – HTML
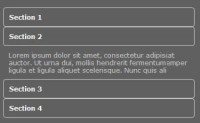
Our markup is pretty simple, an <h2> and <div class="acc_container"> following right after. The <h2> is the heading of our accordion item. We will be using this as our trigger w/ jQuery. The <div class="acc_container"> is what will be sliding up and down to show its content.
<h2 class="acc_trigger"><a href="#">Web Design & Development</a></h2>
<div class="acc_container">
<div class="block">
<!--Content Goes Here-->
</div>
</div>
Styling – CSS
There are two important parts to pay special attention to in the styles.
- Fixed width on the
.acc_container(Cannot be in % or em). This prevents an unusual jQuery bug where it jumps/skips when the accordion is sliding down (right when it reaches the bottom). I’ve researched this and some suggested specifying a height with jQuery, but I found my solution to be much more simple and effective. - Add padding to the nested
divin the.acc_container. This prevents another bug where the padding is animated when the accordion is in opening/closing.
h2.acc_trigger {
 padding: 0; margin: 0 0 5px 0;
 background: url(h2_trigger_a.gif) no-repeat;
 height: 46px; line-height: 46px;
 width: 500px;
 font-size: 2em;
 font-weight: normal;
 float: left;
}
h2.acc_trigger a {
 color: #fff;
 text-decoration: none;
 display: block;
 padding: 0 0 0 50px;
}
h2.acc_trigger a:hover {
 color: #ccc;
}
h2.active {background-position: left bottom;}
.acc_container {
 margin: 0 0 5px; padding: 0;
 overflow: hidden;
 font-size: 1.2em;
 width: 500px;
 clear: both;
 background: #f0f0f0;
 border: 1px solid #d6d6d6;
 -webkit-border-bottom-right-radius: 5px;
 -webkit-border-bottom-left-radius: 5px;
 -moz-border-radius-bottomright: 5px;
 -moz-border-radius-bottomleft: 5px;
 border-bottom-right-radius: 5px;
 border-bottom-left-radius: 5px;
}
.acc_container .block {
 padding: 20px;
}
Step 3. Setting up jQuery
For those who are not familiar with jQuery, do check out their site first and get an overview of how it works. I’ve shared a few tricks that I have picked up along the way, you can check those out as well.
Initial Step – Call the jQuery file
You can choose to download the file from the jQuery site, or you can use this one hosted on Google.
<script type="text/javascript"
src="http://ajax.googleapis.com/ajax/libs/jquery/1.4.1/jquery.min.js"></script>
Directly after the line where you called your jQuery, start a new <script> tag and start your code by using the $(document).ready event. This allows your jQuery code to run the instant the DOM is ready to be manipulated. The code you will be writing in the next few steps will all take place within.
$(document).ready(function() {
 //Code goes here
});
Bringing it to Life – jQuery
The following script contains comments explaining which jQuery actions are being performed.
//Set default open/close settings
$('.acc_container').hide(); //Hide/close all containers
$('.acc_trigger:first').addClass('active').next().show(); //Add "active" class to first trigger, then show/open the immediate next container

//On Click
$('.acc_trigger').click(function(){
 if( $(this).next().is(':hidden') ) { //If immediate next container is closed...
  $('.acc_trigger').removeClass('active').next().slideUp(); //Remove all "active" state and slide up the immediate next container
  $(this).toggleClass('active').next().slideDown(); //Add "active" state to clicked trigger and slide down the immediate next container
 }
 return false; //Prevent the browser jump to the link anchor
});
You might also like


Tags
accordion accordion menu animation navigation animation navigation menu carousel checkbox inputs css3 css3 menu css3 navigation date picker dialog drag drop drop down menu drop down navigation menu elastic navigation form form validation gallery glide navigation horizontal navigation menu hover effect image gallery image hover image lightbox image scroller image slideshow multi-level navigation menus rating select dependent select list slide image slider menu stylish form table tabs text effect text scroller tooltips tree menu vertical navigation menu