 Subscribe
 Follow Us
Sweet AJAX Tabs With jQuery 1.4 & CSS3 HTML5
 14 years ago
 12672
12672 1950
1950
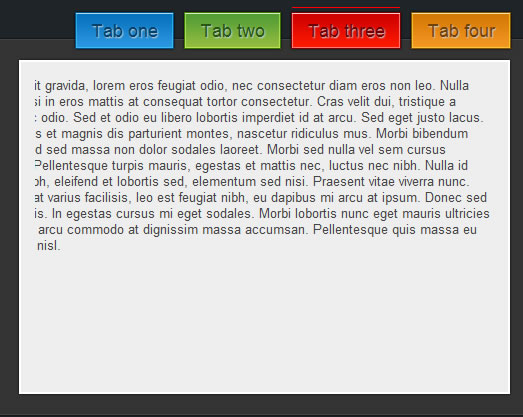
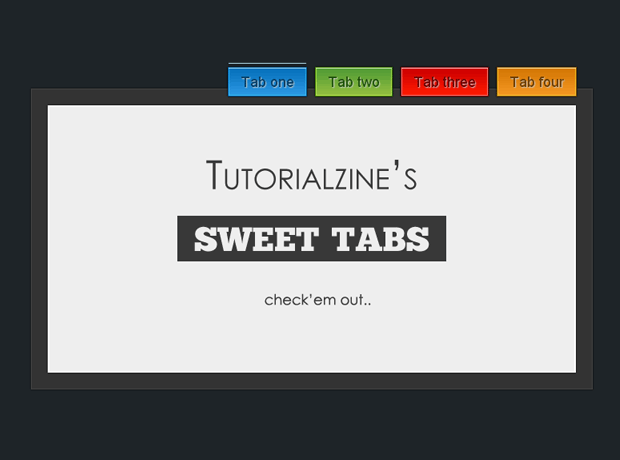
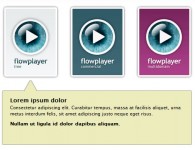
We are making an AJAX-powered tab page with CSS3 and the newly released version 1.4 of jQuery, so be sure to download the zip archive from the button above and continue with step one.
Step 1 – XHTML
As usual, we start off with the XHTML markup.
demo.html
<ul class="tabContainer">
 <!-- The jQuery generated tabs go here -->
</ul>

<div class="clear"></div>

<div id="tabContent">
 <div id="contentHolder">
  <!-- The AJAX fetched content goes here -->
 </div>
</div>
If you think the markup looks too simple to be true, you are right. As you can see, we are missing the code for the tabs, because it is inserted dynamically by jQuery on page load. This makes it extremely easy to add new tabs as you only need to add them on the JavaScript side (more on that in a moment).
demo.html
<li>
 <a href="#" class="tab green">Tab two
  <span class="left"></span>
  <span class="right"></span>
 </a>
</li>
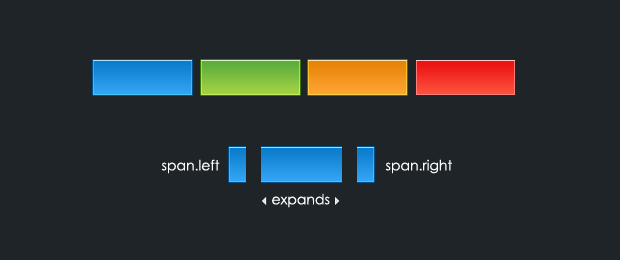
This is the markup that is inserted by jQuery for each tab. It consists of a LI element positioned inside of the .tabContainer unordered list above, and contains a hyperlink with two spans. Those show the left and the right part of the background image and thus enable the tabs to stretch and give room for the text label inside.
Also notice the green class of the link – it determines the background, text color and hover state of the tab, as you will see in the next step of this tutorial.
Step 2 – CSS
With the markup in place, we can take a more detailed look at the styling of the tab page.
styles.css – Part 1
.tabContainer{
 /* The UL */
 float:right;
 padding-right:13px;
}

#contentHolder{
 background-color:#EEEEEE;
 border:2px solid #FFFFFF;
 height:300px;
 margin:20px;

 color:#444444;
 padding:15px;
}

#tabContent{
 background-color:#333;
 border:1px solid #444;
 margin-top:-15px;
 width:100%;
}

#tabContent, .tabContainer li a,#contentHolder{
 -webkit-box-shadow:0 0 2px black;
 -moz-box-shadow:0 0 2px black;
 box-shadow:0 0 2px black;
}

.tabContainer li{
 /* This will arrange the LI-s next to each other */
 display:inline;
}

.tabContainer li a,.tabContainer li a:visited{
 /* Styling the hyperlinks of the tabs as colorful buttons */

 float:left;
 font-size:18px;

 /* display:block allows for additinal CSS rules to take effect, such as paddings: */
 display:block;

 padding:7px 16px 1px;
 margin:4px 5px;
 height:29px;

 /* Giving positioning */
 position:relative;

 /* CSS3 text-shadow */
 text-shadow:1px 1px 1px #CCCCCC;
}
Here we use a number of CSS3 rules that add up to the overall feel of the page. First is the box-shadow property, which adds a shadow below the tabs, the #tabContent div and the #contentHolder.
After this we have the text-shadow property, which adds a light-colored shadow (more of a outer glow in this case), which adds an inset feel to the text of the tabs.
styles.css – Part 2
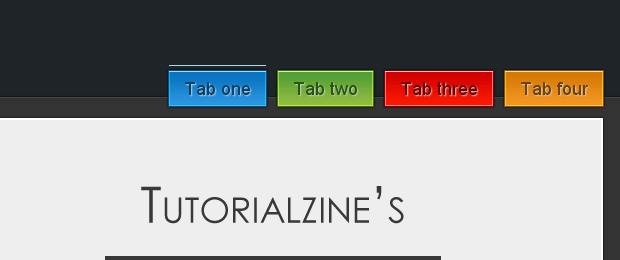
#overLine{
 /* The line above the active button. */
 position:absolute;

 height:1px;
 background-color:white;
 width:90px;

 float:left;
 left:1px;
 top:-5px;
 overflow:hidden;
}

#main{
 margin:0 auto;
 position:relative;
 width:700px;
}

ul .left{
 /* The left span in the hyperlink */

 height:37px;
 left:0;
 position:absolute;
 top:0;
 width:10px;
}

ul .right{
 /* The right span in the hyperlink */

 height:37px;
 right:0;
 position:absolute;
 top:0;
 width:10px;
}

/* Styling the colors individually: */

ul a.green{ background:url(img/green_mid.png) repeat-x top center; color:#24570f;}
ul a.green span.left{ background:url(img/green_left.png) no-repeat left top;}
ul a.green span.right{ background:url(img/green_right.png) no-repeat right top;}

/* .. Analogical styles for the red, blue and orange color .. */

/* The hover states: */
ul a:hover{ background-position:bottom center; text-decoration:none;}
ul a:hover span.left{ background-position:left bottom;}
ul a:hover span.right{ background-position:right bottom;}

.preloader{
 display:block;
 margin:120px auto;
}
In the second part of the code, you can see that we define different backgrounds for the hyperlink and the left and right spans, depending on the color class that is assigned. This way we can successfully change a number of CSS styles and as a result have a completely different design of the tab, by just setting a different class name for the hyperlink.
Step 3 – jQuery
This is where the magic happens. First we need to include the jQuery library in the page:
demo.html
<link rel="stylesheet" type="text/css" href="styles.css" />

<script type="text/javascript" src="http://ajax.googleapis.com/ajax/libs/jquery/1.4.0/jquery.min.js"></script>
<script type="text/javascript" src="script.js"></script>
We include the latest version of jQuery from Google’s CDN and immediately after it, we add our own script.js file, which contains all of our scripts.
Here is a detailed explanation of what exactly jQuery does:
- The page is opened in a visitor’s browser and the jQuery library is downloaded from Google’s Content Depository Network;
- $(document).ready() is queued for execution and the function that is provided as a parameter is run when the DOM has finished loading;
- The Tabs object is looped with the $.each() method and individual <LI> elements are created and appended to the .tabContainer <UL> (covered in step one);
- Event listeners for the click event on the tabs are set up.
You can view the code below:
script.js – Part 1
$(document).ready(function(){
 /* This code is executed after the DOM has been completely loaded */

 /* Defining an array with the tab text and AJAX pages: */

 var Tabs = {
  'Tab one' : 'pages/page1.html',
  'Tab two' : 'pages/page2.html',
  'Tab three' : 'pages/page3.html',
  'Tab four' : 'pages/page4.html'
 }

 /* The available colors for the tabs: */
 var colors = ['blue','green','red','orange'];

  /* The colors of the line above the tab when it is active: */
 var topLineColor = {
  blue:'lightblue',
  green:'lightgreen',
  red:'red',
  orange:'orange'
 }

 /* Looping through the Tabs object: */
 var z=0;
 $.each(Tabs,function(i,j){
  /* Sequentially creating the tabs and assigning a color from the array: */

  var tmp = $('<li><a href="#" class="tab '+colors[(z++%4)]+'">'+i+' <span class="left" /><span class="right" /></a></li>');

  /* Setting the page data for each hyperlink: */

  tmp.find('a').data('page',j);

  /* Adding the tab to the UL container: */
  $('ul.tabContainer').append(tmp);
 })
The source above is the first part of script.js, which you can find in the download archive. You can add your own tabs on the page by inserting a new property to the Tabs object. The left part holds the name of the tab in single quotes, and the right part (after the semicolon) contains the AJAX URL which is going to be fetched and displayed in the #contentHolder div.
In the following second part of the script, you’ll see jQuery 1.4 in action, as we create a new div element (that acts as the line above the active tab) and pass an object with the ID and CSS properties instead of setting them separately with the .attr() and .css() methods.
script.js – Part 2
 /* Caching the tabs into a variable for better performance: */
 var the_tabs = $('.tab');

 the_tabs.click(function(e){

  /* "this" points to the clicked tab hyperlink: */
  var element = $(this);

   /* If it is currently active, return false and exit: */
  if(element.find('#overLine').length) return false;

   /* Detecting the color of the tab (it was added to the class attribute in the loop above): */

  var bg = element.attr('class').replace('tab ','');

   /* Removing the line: */
  $('#overLine').remove();

   /* Creating a new div element with jQuery 1.4 by passing an additional object parameter: */

  $('<div>',{
   id:'overLine',
   css:{
    display:'none',
    width:element.outerWidth()-2,
    background:topLineColor[bg] || 'white'
   }}).appendTo(element).fadeIn('slow');

   /* Checking whether the AJAX fetched page has been cached: */

  if(!element.data('cache'))
  {
   /* If no cache is present, show the gif preloader and run an AJAX request: */
   $('#contentHolder').html('<img src="img/ajax_preloader.gif" width="64" height="64" class="preloader" />');

    $.get(element.data('page'),function(msg){
    $('#contentHolder').html(msg);

     /* After page was received, add it to the cache for the current hyperlink: */
    element.data('cache',msg);
   });
  }
  else $('#contentHolder').html(element.data('cache'));

   e.preventDefault();
 })

 /* Emulating a click on the first tab, so that the content area is not empty: */
 the_tabs.eq(0).click();

});
Notice the use of the jQuery data() method throughout the code. It assigns arbitrary data to an element by calling the method with two parameters $(‘#selector’).data(‘label’,”String Data”). This assigns the string “String Data” to the element and we can later access it (or check if it has been set) by calling the data method without the second parameter.
This way we set up a simple caching system for the AJAX requests. The first time an AJAX call is made, the text of the response (held in the msg variable) is stored at data(‘cache’). On consecutive calls we check for this cache variable and return it instead of firing a new request. This way we remove unnecessary server load and improve the responsiveness of the tabs.
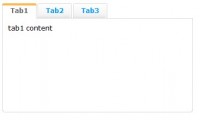
With this our sweet AJAX-ed tabs are complete!
You might also like

Tags
accordion accordion menu animation navigation animation navigation menu carousel checkbox inputs css3 css3 menu css3 navigation date picker dialog drag drop drop down menu drop down navigation menu elastic navigation form form validation gallery glide navigation horizontal navigation menu hover effect image gallery image hover image lightbox image scroller image slideshow multi-level navigation menus rating select dependent select list slide image slider menu stylish form table tabs text effect text scroller tooltips tree menu vertical navigation menu