 Subscribe
 Follow Us
jQuery 3D Parallax Background Effect
 12 years ago
 43892
43892 5759
5759
The HTML
Our page will consist of 6 sections: header, footer and 4 articles. On the right, we’ll place an unordered list that links between the articles and remains fixed on the page so it doesn’t move.
<script type="text/javascript" src="https://ajax.googleapis.com/ajax/libs/jquery/1.4.4/jquery.min.js"></script>
<script type="text/javascript" src="scripts/nbw-parallax.js"></script>
<script type="text/javascript" src="scripts/jquery.inview.js"></script>
<script type="text/javascript">
$(document).ready(function(){
    $('#nav').localScroll();
})
</script>
o start, at the top of the page, we’ll reference all of the JavaScript files we’ll use to make the effect work. The scripts we’re using are:
jQuery 1.4.4
The script written by Ian Lunn (which we’ll cover shortly)
jQuery Inview (determines whether a particular article is in view)
Inside of our body tag, we have the containers that will make up each article.
<div id="intro">
    <div class="story">
        Article content here
    </div> <!--.story-->
</div> <!--#intro-->
The CSS
I won’t cover what all of the CSS does, just that which is relevant to the working of the effect. Let’s take a look at the CSS for the HTML container I just mentioned above:
#intro {
	background:url(../images/night_sky_background.jpg) 50% 0 no-repeat fixed;
	color: white;
	height: 1000px;
	margin: 0;
	padding: 0;
}
The first article (#intro), will have one background image and a height of 1000px. The width isn’t defined so it will stretch to 100% of the window. Each background image used for the articles I have made 1920px wide so the majority of monitors will have a full image background. Anything over 1920px will see a white border.
.story {
	margin: 0 auto;
	min-width: 980px;
	width: 100%;
}
Inside of the #intro container, we have .story which is present in every article container. This purely keeps each article centered in the browser and with a width of 980px, almost every monitor will see the website without the need for horizontal scroll bars.
Multiple Backgrounds (or where it gets fun!)
In the demo and downloadable files you’ll see that the articles have multiple backgrounds. Nikebetterworld achieved this using extra HTML in the article container which is exactly what I’ve done just like this:
<div id="intro">
<div class="story">
<div class="bg1"></div>
<div class="bg2"></div>
<div class="bg3"></div>
<div class="bg4"></div>
<div class="bg5"></div>
<div class="bg6"></div>
<div class="bg7"></div>
<div class="float-left" style="margin-left:45%; z-index: 400;">
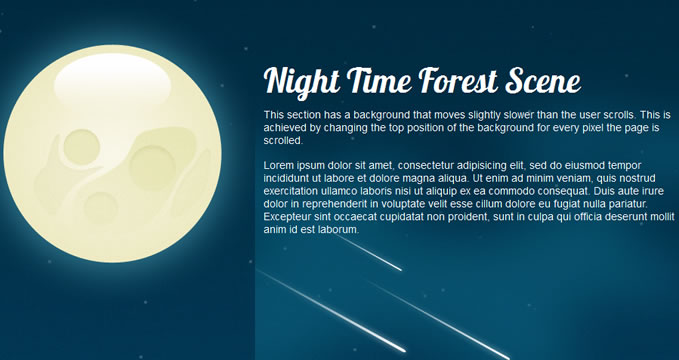
<h2>Night Time Forest Scene</h2>
<p>This section has a background that moves slightly slower than the user scrolls. This is achieved by changing the top position of the background for every pixel the page is scrolled.</p>
</div>
</div>
</div>
The divs with the class of “bg” have their own backgrounds:
#intro .bg1 {
	background: url(../images/moon_background.png) 50% 0 no-repeat fixed;
	height: 1000px;
	margin: 0 auto;
	padding: 0;
	position: absolute;
	width: 100%;
	z-index: 200;
}
This div is also given an absolute position and a high z-index to make sure it appears above everything else.
The JQuery
Now we get to the juicy part of this tutorial! First thing’s first, optimization! This script is nice and light thanks to the above mentioned CSS along with a good amount of jQuery optimization:
var $window = $(window);
	var $firstBG = $('#intro');
	var moon = $("#intro .bg1");
	var nebula = $("#intro .bg2");
	var shooting_stars = $("#intro .bg3");
	var trees_left = $("#intro .bg4");
	var trees_right = $("#intro .bg5");
	var bottom_background = $("#intro .bg6");
	var bottom_foreground = $("#intro .bg7");
	var $secondBG = $('#second');
	var goggles = $(".goggle_view");
	var goggles_side = $(".goggle_side");
	var compass_1 = $("#second .bg2");
We start by turning our selectors into variables for referencing in the script later on.
We will need the height of the browser window on a few occasions so we’ll put that into a variable too:
var windowHeight = $window.height();
Next up, comes our ‘inview’ event which uses the jQuery Element ‘in view’ Event Plugin:
$('#intro, #second').bind('inview', function (event, visible) {
			if (visible == true) {
			$(this).addClass("inview");
			} else {
			$(this).removeClass("inview");
			}
		});
I’m using this plugin for optimisation reasons too. Quite simply, it determines whether a particular element is ‘in view’ or not. I’ve coded it so that if one of the articles is ‘in view’, then it applies a class of “inview” to that article. Later on in the script, we run an “if statement” to determine whether an article is ‘in view’ before manipulating the position of it’s background image. By doing this, it means only the background images the user can see will be moved, thus saving the script from moving all background images at the same time.
Next, we have three functions which will be called at three separate occasions. Firstly, the positioning of the unordered list I mentioned, that is fixed to the right of the window:
function RepositionNav(){
		var windowHeight = $window.height(); //get the height of the window
		var navHeight = $('#nav').height() / 2;
		var windowCenter = (windowHeight / 2);
		var newtop = windowCenter - navHeight;
		$('#nav').css({"top": newtop}); //set the new top position of the navigation list
	}
Read more:http://despiration.com/2011/06/tutorial-awesome-3d-parallax-background-effect-with-jquery/
You might also like


Recommend Items
Tags
accordion accordion menu animation navigation animation navigation menu carousel checkbox inputs css3 css3 menu css3 navigation date picker dialog drag drop drop down menu drop down navigation menu elastic navigation form form validation gallery glide navigation horizontal navigation menu hover effect image gallery image hover image lightbox image scroller image slideshow multi-level navigation menus rating select dependent select list slide image slider menu stylish form table tabs text effect text scroller tooltips tree menu vertical navigation menu