 Subscribe
 Follow Us
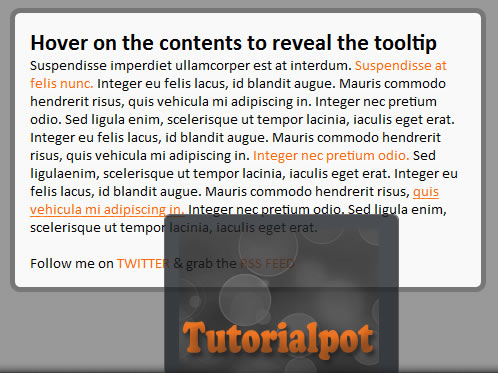
stylish tooltip plugin with jQuery
 12 years ago
 12990
12990 3188
3188
It is always a pleasure learning new techniques although at first it may seem like too much work and just not worth the try but there are many benefits to this in the long-run:
1.Your code becomes easier to modify and repetitive tasks are handled naturally.
2. Improves the speed with which you develop your code, as plugins promotes code reuse. Just like developing with Object Orientation.
What our plugin will do
The plugin will listen for hover on links with a tooltip class
If the tooltip has a title attribute, it will grab the title and put it in a div and show it next to the mouse pointer
A good replacement for the native tooltip shown by the browser.
Plugin features
1. Configurability by passing in options
2. Default options to keep invoking code small and neat
3. Splitting your code out into manageable functions, if need be.
4. Ensuring that your plugin supports chaining.
Plugin structure.
(function($){

           $.fn.pluginName = function (options){

            var defaults = {
              "color" : #FFFFFF
           };

       var options = $.extend(defaults, options);

       return this.each(function(){

      //code to be placed here

          })
      }
  })(jQuery)
That is a basic plugin structure
Calling a plugin
$(document).ready(function(){
		//Call the jQuery plugin using its name
$('element').pluginName();

	});
You simply call a plugin on an element using its pluginName as shown above. This way you apply the plugin on each of the elements on your page.
Our Plugin
jQuery.toolTip.js
(function($){
	$.fn.toolTip = function(options) {

		//Providing plugin defaults

		var defaults = {
		  	background: '#1e2227',
			color: '#fff',
			opacity: '0.8'
		};

		 var options = $.extend(defaults, options);

		  // Always return the jQuery object to allow for chainability.

		 return this.each(function() {
		  	var elem = $(this);

			//grab the title attribute

		 var title = elem.attr('title');

		//only show the tooltip when the title is not empty

			if(title != '') {

				//creating the tooltip div

			var tooltip = $('
<div id="tooltip">');

			//Remove the title attribute's to avoid the native tooltip from the browser
				elem.attr('title','');

				// mouse over

				elem.hover(function(e) {
					tooltip.hide().appendTo('body')
					  .html(title)
					  .hide()
					  .css({
					  	'background-color' : options.background,
						'color' : options.color,
						'opacity' : options.opacity,
					 })
					  .fadeIn(500);

				},

				// mouse out

				 function() {
					tooltip.remove(); //remove the tooltip
				});
			}

			//mouse move the tooltip will follow the plugin

			elem.mousemove(function(e) {
				tooltip.css({
					top: e.pageY + 10,
					left: e.pageX + 20
			     });

			});

		  });

	}
})(jQuery);
</div>
The plugin listens for hover events on elements with a tooltip ID and creates a div that shows the title attribute of the hovered element.
The native browser tooltip is disabled when we set the title attribute to empty in the plugin and the tooltip is only shown when the title attribute is not empty.
The mouse move function ensures that the tooltip at all times stays with the mouse cursor.
Styling
jQuery.toolTip.css
#tooltip {
	border: 1px solid #444;
	font-size: 14px;
	max-width: 205px;
	padding:1em;
	position: absolute;
	z-index:2000;
	text-shadow:none;
	border-radius: 6px;
	-moz-border-radius: 6px;
	-webkit-border-radius: 6px;
}
And to wrap it up, a pretty basic styling for the tooltip div
The article source:http://tutorialpot.com/2011/09/jquery-tooltip-plugin-tutorial/
You might also like


Tags
accordion accordion menu animation navigation animation navigation menu carousel checkbox inputs css3 css3 menu css3 navigation date picker dialog drag drop drop down menu drop down navigation menu elastic navigation form form validation gallery glide navigation horizontal navigation menu hover effect image gallery image hover image lightbox image scroller image slideshow multi-level navigation menus rating select dependent select list slide image slider menu stylish form table tabs text effect text scroller tooltips tree menu vertical navigation menu